
I started with Flodesk because of the clean, classy feel this emailing platform offers. I came across Flodesk from reading another user’s emails; at the bottom, her email read ‘Made with love by Flodesk.’ Right then and there, I knew this was a platform I was interested in, but! There was one ‘but’ wouldn’t an elegant and clean platform such as this cost a pretty penny? So I got to researching their services, and I was more than impressed with my findings. Here is some of what I found out:
- Flodesk integrates well with the Genesis E-News signup form that was already on my website.
- They have these eye-catching templates to create emails for whatever your needs are; for newsletters, freebies, welcome emails, product sales, etc.
- Assign your email subscribers into different categories in your email list. For example, you can have a group of subscribers opt-in for your free email course and another group for your welcome email. Flodesk makes creating this workflow so easy!
- Use email campaign analytics to understand the fate of your emails- emails opened by subscribers, emails sent to spam, and even unsubscribers.
- Flodesk is offering 50% off (wow!). That’s a lifetime rate of $19/ month with a referral. If you’re uncertain whether Flodesk is ideal for you, try their services for free for 14 days. Ordinarily, their monthly cost is $ 38/ month, but you can lock in this lifetime rate of $19/ month. That’s 50% off for life by using this CODE ‘Mommylytics.’
- Flodesk offers only one package, but it has everything you need. Unlike other platforms, your monthly fee remains unchanged, no matter how many subscribers you have on your email list. This package is quite hard to beat but, don’t take my word for it.
Here’s an opportunity to see what the user interface is like at Flodesk. Let’s get right into creating that opt-in to help grow your email list.
**Use my quick guide when starting your blog, sign-up for your free Blog Start-up Checklist.
What is an Opt-in form?
An opt-in form gives you a chance to collect the email addresses of your website or blog visitors, and it’s usually in exchange for something like a free course. Luckily for you, if you are using Flodesk as your email platform, you can still create and publish your opt-in form even without a website.
Flodesk offers three form types:
- Pop-up– A pop-up form appears when you visit a website, usually offering deals, discounts, or freebies.
- Inline Form– An inline form is posted directly to your website and can be placed in any location on any page. I like how versatile this form is, and it’s possibly my favorite, giving visitors to my website the option to join my email list at their leisure. You can add an inline form to every page, like a piece of well-placed furniture. Who knows, this may be what your visitors need to make an unhurried subscription to your email list.
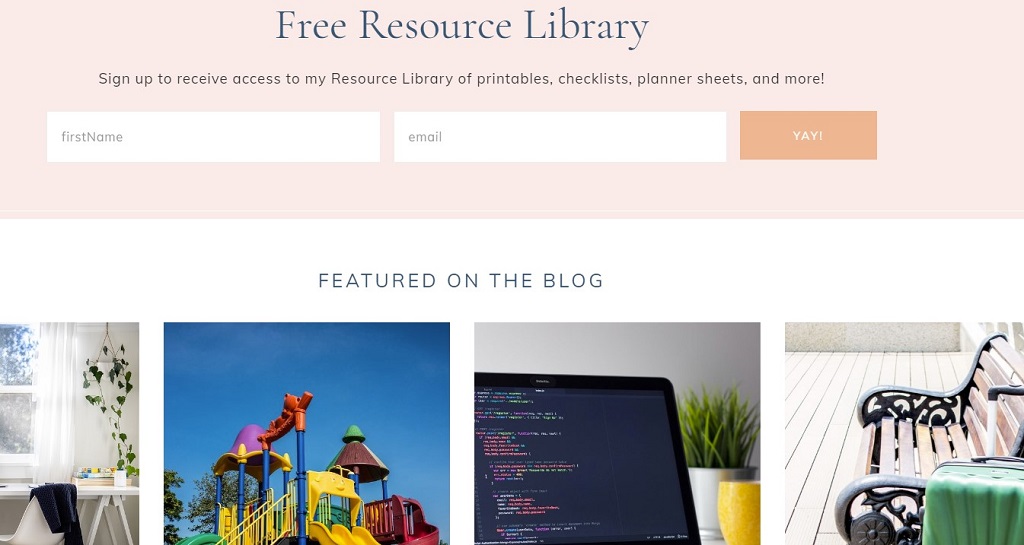
Full Page Form– The full-page form is exclusive to Flodesk. It is the perfect solution for individuals without a website. All you have to do is copy and paste the link wherever you would like it to be shared, and that could be even be on your social media page. Remove the hassle of figuring out how to embed the page code into your website with plugins or going to the backend.
How To Create An Opt-in Form?
Before you create your opt-in form, you need to determine which segment you want your subscribers to be a part of; you don’t want to be stuck trying to figure out what product they signed up for?
I would set this up very carefully as this information will become useful later on when you start sending out automated emails to communicate with subscribers on your list.
It also helps to keep your subscribers organized. So an example of a segment could be those signing up for a free ebook or an email course and name your segment accordingly; ebook opt-in.
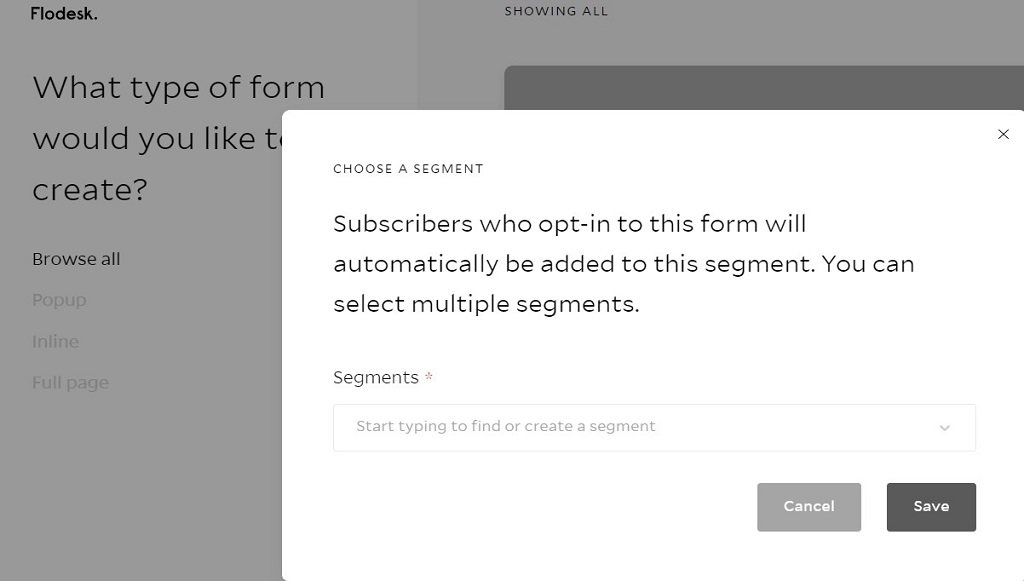
When subscribers complete the form on your website, they will be assigned based on the segment ascribed to the form when it was created.
Now let’s get into action. From your dashboard, head over to audience, and from that drop-down, select segments the select add segment. Give your segment a name relating to what you are offering subscribers. You may use previously created segments for new opt-in forms.


After your segment has been created, the next step is to create your form.
On your Flodesk dashboard select forms,> then create new to initiate creation.

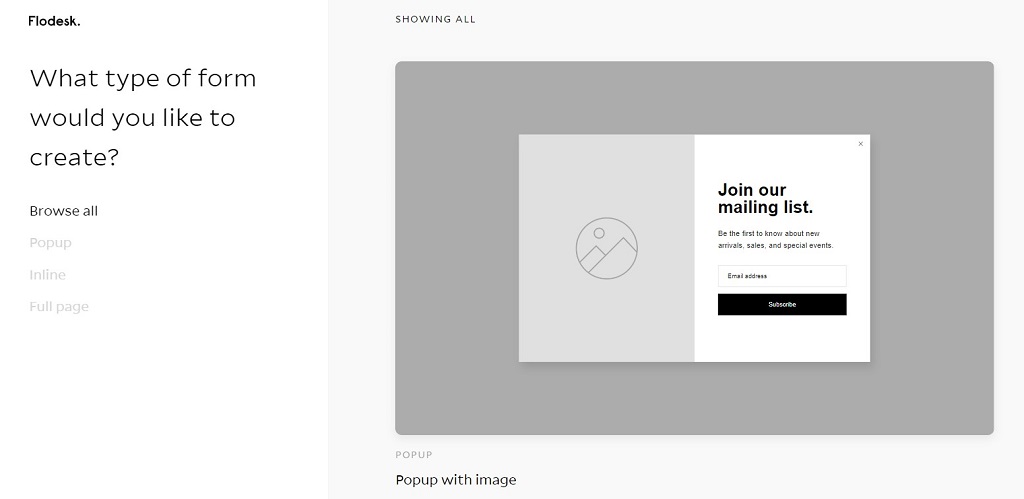
A window will open displaying different versions of the three form types, which can be used to create opt-ins with the option to customize. Choose the form type that fits into your website and or that suits your brand.
Once you have chosen a form for your website, the system will ask you to assign that form to a segment.
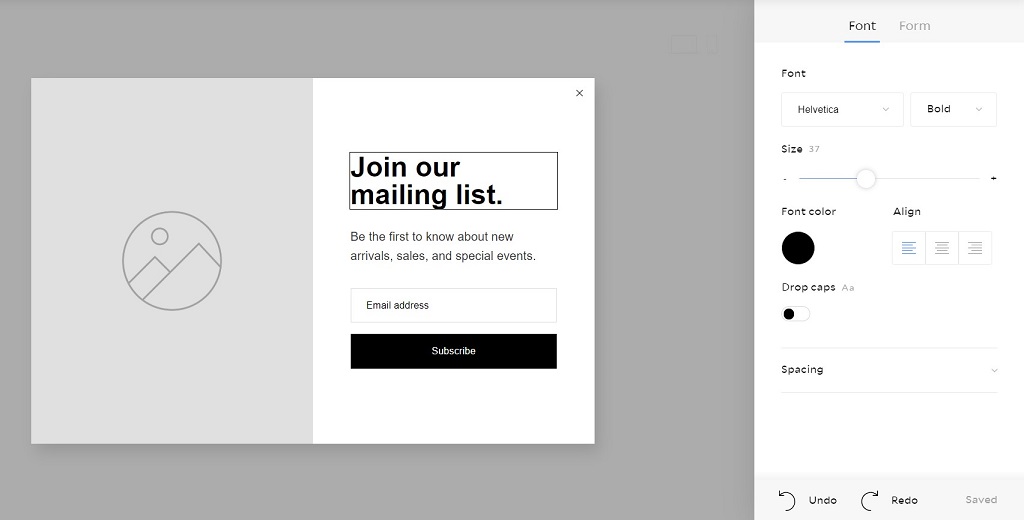
The selected form will then pop up, allowing you to customize it according to your taste or branding style. Click anywhere on the form to start customizing. Change font style, add branding color, and import images to your form. Flodesk really allows you to unleash full creativity here by allowing you to style forms to your taste.
After someone has subscribed to your list, decide what message you want to display. You may use a premade message from Flodesk or add a custom message for your subscribers. Click outside of the form or in the grey area to access all the form settings.
Click next in the upper right corner to choose how you want subscribers to interact with your form. Choose when the form appears on your website, for example, immediately after a visitor land on your website or after they have scrolled through 30% of the page.
Next, select whether you want your form to be shown to returning visitors and if you’re going to be notified of new subscribers. Your final option is to determine what happens after someone has subscribed to your list. You may choose to have them are redirected back to your site through a URL you added or receive displayed a success message.
Next, an HTML code will be displayed to add to your website. You may add this HTML code using the plugin Insert Headers and Footer. Install this WordPress plugin, then copy your code into the header section of the plugin.
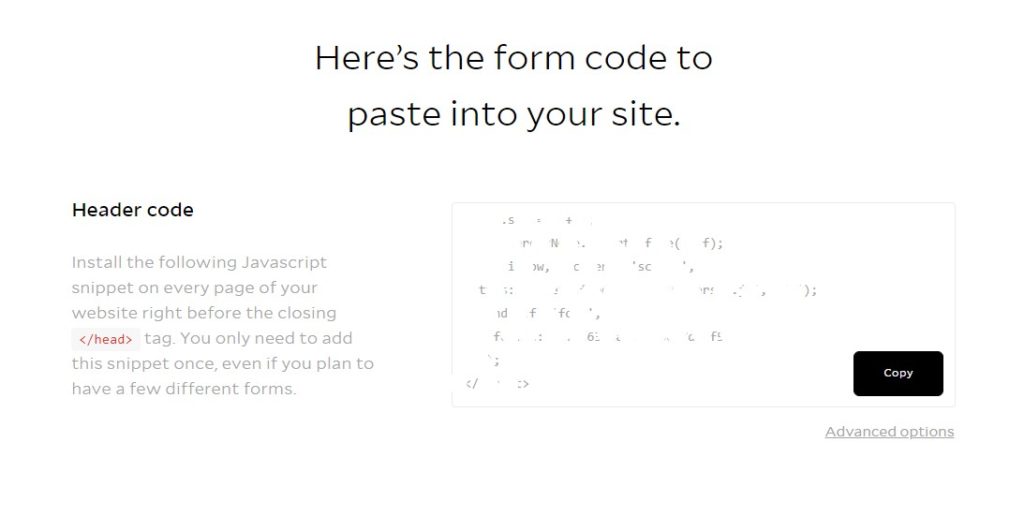
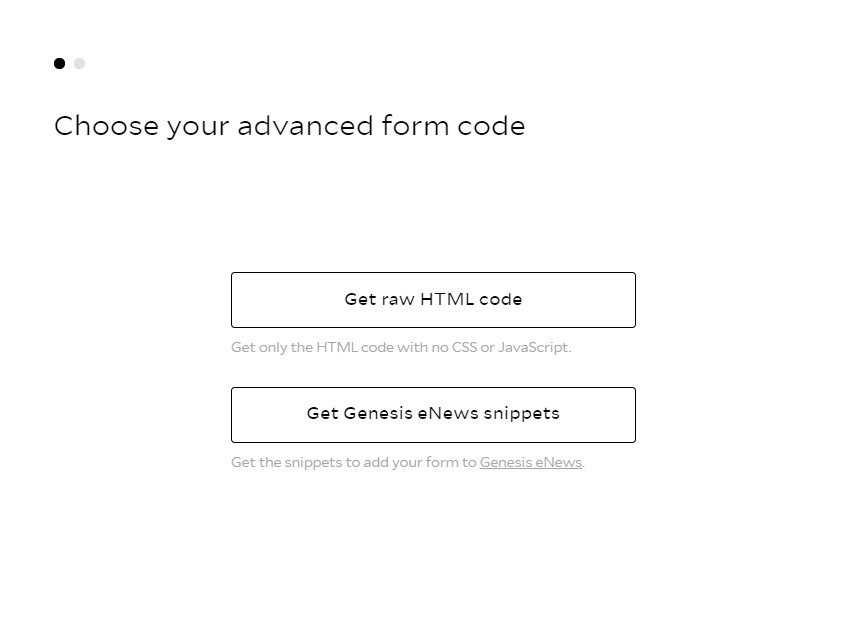
The advanced options allow you to get a raw HTML code for your site or if you use the Genesis theme, get snippets for your Genesis E-news form.
For your product to be delivered to your subscribers, you now need to create a workflow.
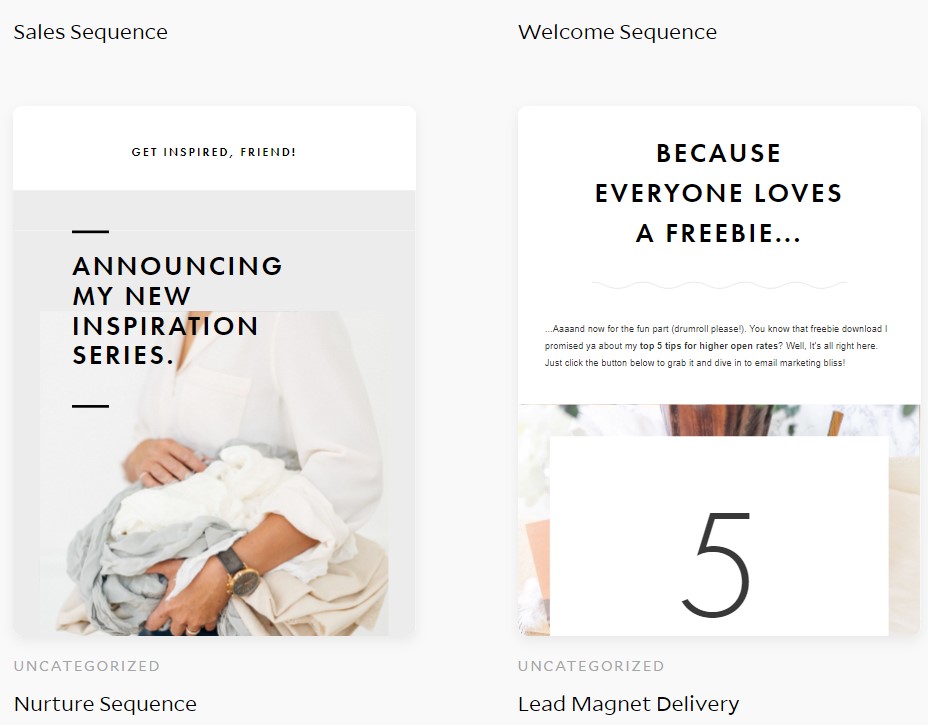
From your Dashboard again, select workflow> then create new. Select a template to customize just as you did while creating your opt-in form.
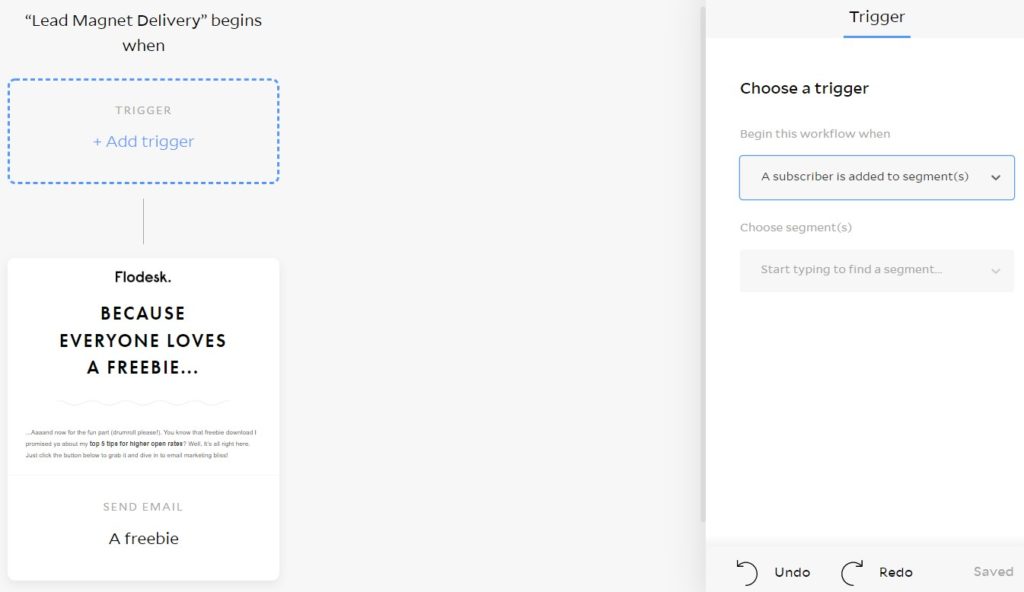
You will then have to set a Trigger, which is what you want to happen when a visitor joins your email list. Choose the segment that you wish your workflow to be associated with.
Write your custom email to your audience then, then hit publish. Now you’re on your way to wow your visitors with emails from this clean and sleek emailing platform; Flodesk.
Additionally, if you are looking to start a blog, read this simplified post, Simple Steps To Get Your Blog Started.
Leave your comments in the comment section letting me know if you found this post useful. Want more blogging tips? Sign up for my newsletter.
Cheers.


Leave a Reply